In the middle section of our garden, between the veggie beds and the open, family play area, there are two garden beds that I hope will someday look a little like this:

Planning

Planning ahead for the plants you'll want 3 or 4 months out is *hard*! It's all so very abstract, looking at pictures, reading about what conditions a plant needs, imagining how big it will get and how it will look with other plants. It really does make my head spin!
But the good thing about doing all this from seed is that if it doesn't work out, you've only lost the $5 or so you spend on seeds, plus maybe another $10 or so on potting mix. And if you have 40 plants of a particular variety, you can plant them in different spots to see where they thrive in your particular microclimate.
The main criteria I was searching for while planning were the following:
- Well adapted to a summer-dry climate. We often get lots of water in winter, but then go 6-8 months with no water at all. These aren't necessarily desert plants, but those that cope well with an intense soggy season followed by a long drought.
- Edible or medicinal value for either humans or pollinators.
- A variety of leaf shapes and textures for visual interest
- Flowers in a harmonious range of colors. I've chosen peach, pink, orange, dark purple, and white.
- Different heights and habits to create interesting 3D shapes in the border.
Here are the plants I've chosen:
- Mullein Wedding Candles
- Anise hyssop Tango and Apache sunset
- Winter savory
- Oregano za'atar variety
- Lady's mantle
- Roman chamomile
- Yarrow Favorite berries
- Rubus creeping raspberry
- Spanish tarragon, Tagetes lucida
- Lemon bergamot
- Russel Lupin
If you know me, you'll know that I don't sugar coat things. It's really not fair to say, "Oh this is so super-duper easy! Give it a go!" when it's actually a lot of work. It makes you feel like a failure for not succeeding with something "easy." Anyway, another day for my soap box on misleading internet tutorials . . .
Suffice it to say, planning for the perennials was a challenging job with a lot of lists and Google time. You can definitely do it, if you're prepared that it will take some time and some mental effort.
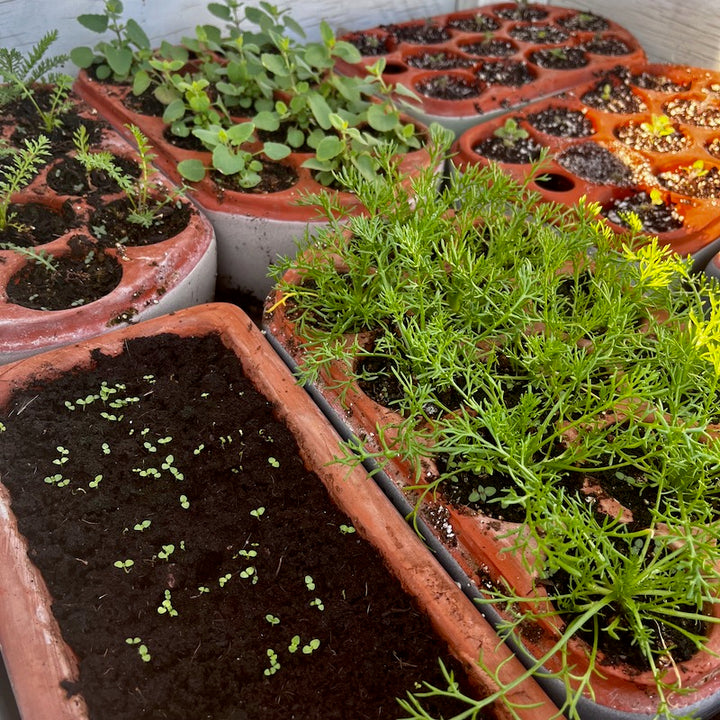
But then it's all worth it when this starts to happen:

Sowing and caring for perennial seedlings
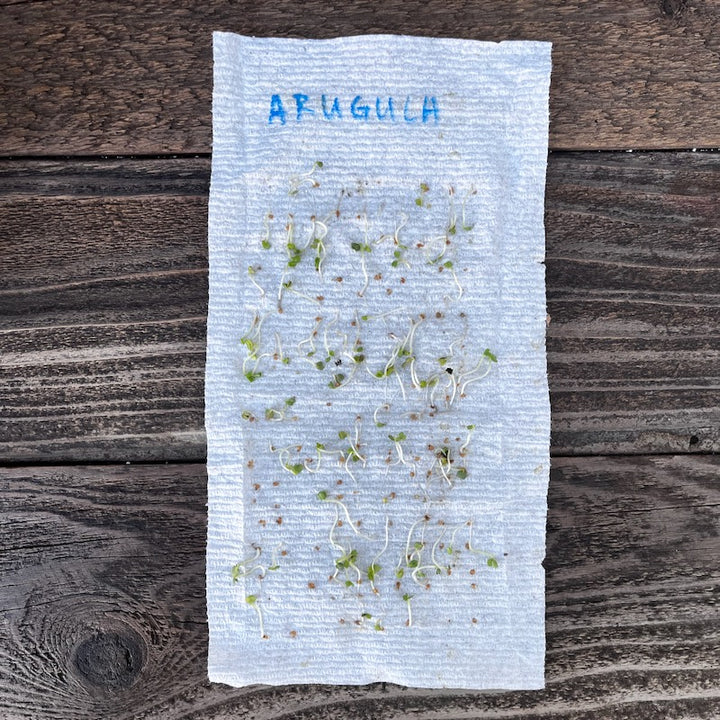
The biggest difference between perennial seedlings compared to veggies is that for the most part, the seeds are eeny-weeny! Like dust-like.
(If you're new to seed starting and want to learn more about the easier process of starting veggies from seed, click here to receive our free complete handbook for starting veggies from seed.)
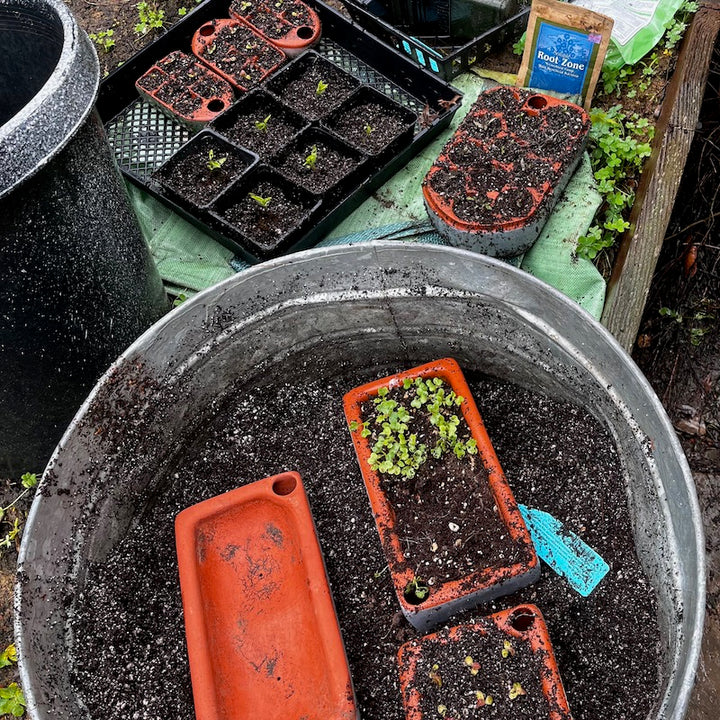
All seeds are a bit different, and it's important to read the package. For the varieties I sowed, most required light to germinate, and so I scattered them on the surface of already moist seed-starting mix. I was very, very careful to get the itty-bitty seeds evenly distributed over the mix, and then I watered extremely gently with the "mist" setting on my sprayer, just enough to settle the seeds into good contact with the soil.
Because I was using Orta self-watering pots which water from below, that was the only time I watered from above. With really small seeds, top watering can scatter them and hurt their chances of taking root. You don't have to use Orta seed pots, of course, but you should definitely have a plan for bottom-watering or seriously gentle top-watering if you're growing very small seeds.
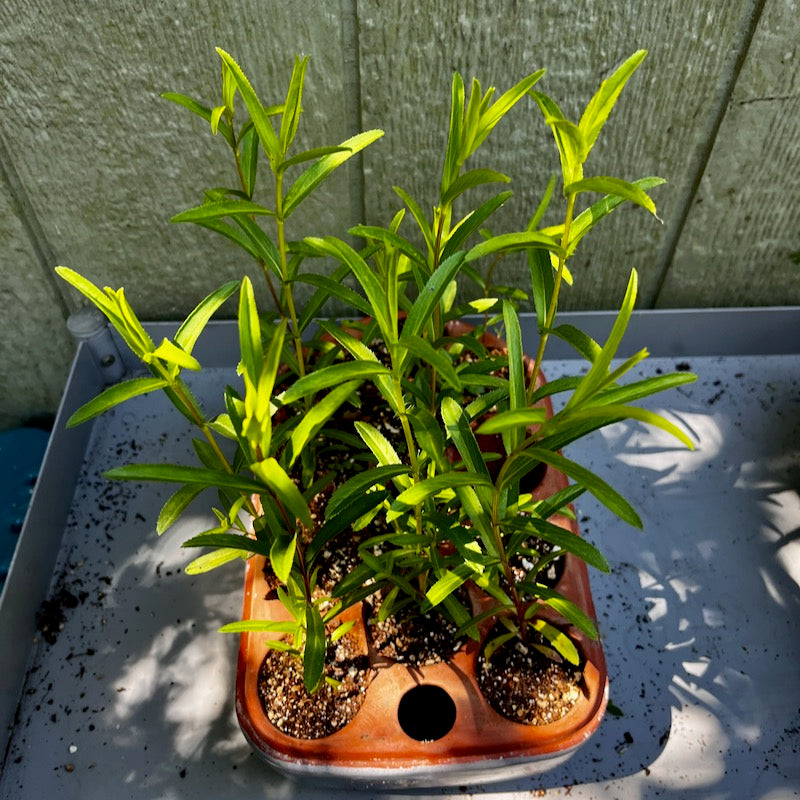
Here are some Anise hyssop seedlings (foreground) about 2 weeks after sowing:
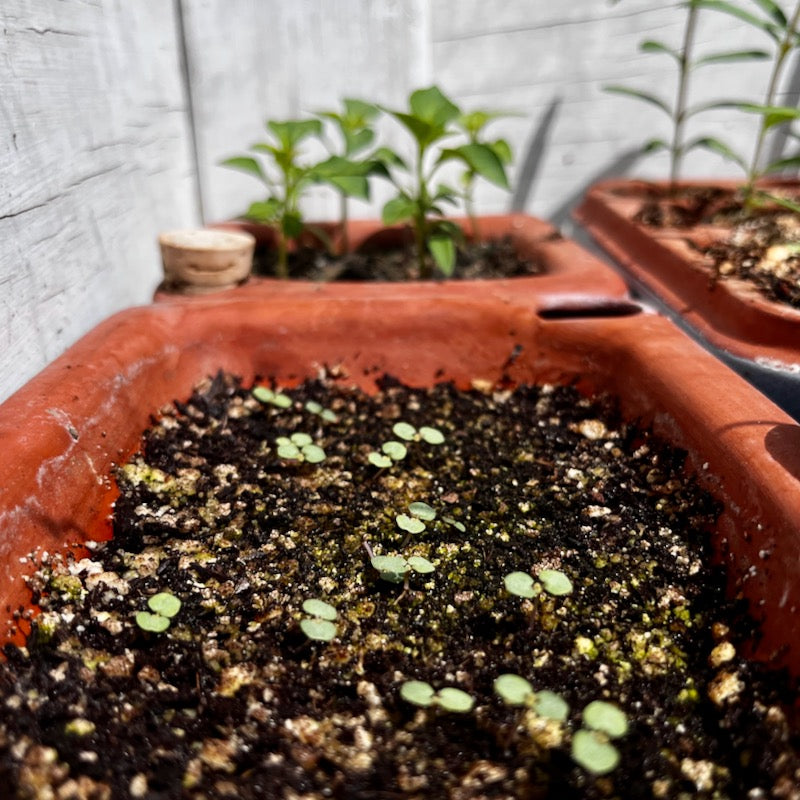
And here they are a 2 1/2 weeks later:


So, to summarize, here are all the steps I've done so far to start perennials from seed:
- Decide what criteria your perennials need to satisfy. It's not enough to know your UDSA zone. You also need to choose based on water usage; sun or shade; edible, medicinal, or pollinator uses; aesthetics.
- Do your homework: Use books, google, friends and neighbors to find plants that fit your criteria.
- Learn how each of your selected plants is best propagated. For those that grow easily from seed . . .
- Order seeds! You'll probably have to order from several different specialty seed companies.
- Sow seeds according to package directions, 2-3 months before your best season for planting out. Perennials are more varied in their needs than the standard annual veggies we're used to!
- Tend your seedlings, pricking out and potting up as needed to make sure they keep growing strong and fast.
- (I haven't done this yet.) Plant out young plants! In all but the very coldest parts of the United states, it's best to set out perennials in fall when the soil is still warm, but days are getting shorter. This concentrates growth to the roots to help them overwinter and grow away strongly in the spring.