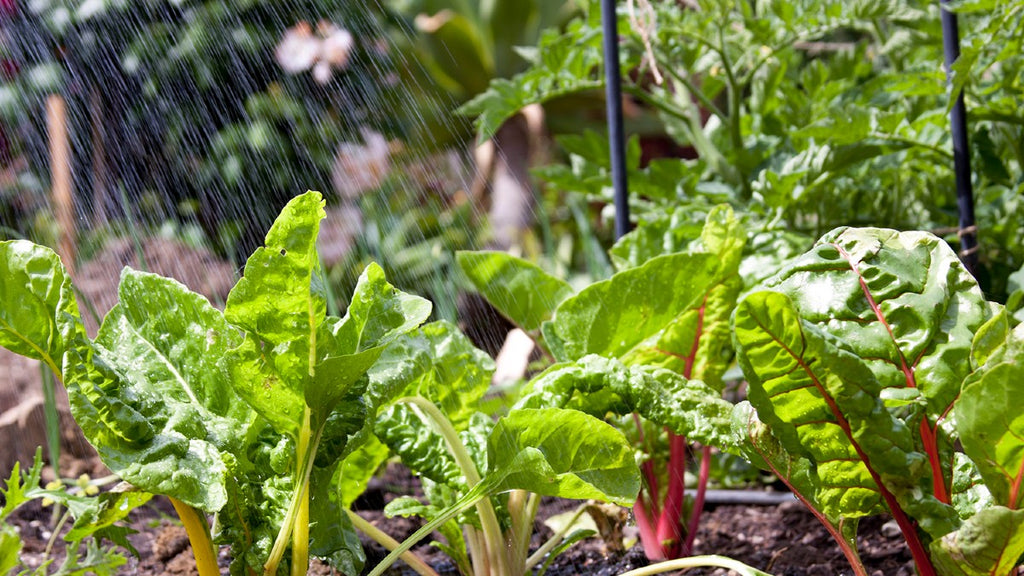
This may seem like strange timing, with much of North America under flood watches at the moment, but now is a pretty good time to plan ahead for your summer irrigation. As you put in your summer veggies, and before your beds and flower borders are crammed with plants, is the easiest time to figure out your irrigation needs.
Every garden is different, and even different spots within the same garden have different watering needs. Your watering plan will be as unique as your garden! I'm going to go through all the major irrigation methods to help you figure out what will work best for you.
Please note that all of my direct experience of watering comes from gardening in the wet winter, dry summer Meddeterranian climate of Northern California.
Hand Watering
Hand watering is the most flexible method, and requires the least planning and extra gear. It's also the most time consuming and prone to mishaps. Over the years, I've heard many gardeners say that expert gardeners hand-water. Or I've have heard passionate gardeners humble brag about "only" hand watering. I'm not sure where this myth comes from, but it's pervasive. My best guess is that there is a strong correlation between people who have enough time to hand-water and those who have been gardening many years, i.e. retired people. For the rest of us, hand-watering can work, but it's a challenge to keep it up all summer.
Here are some tips on hand-watering:
Water more volume than you think, and less frequently. Most plants do well with deep watering, meaning that the water penetrates deep under the soil. This encourages plants to send their roots deep where they stay cooler and more consistently moist. Deeper rooted plants are more resilient in periods of drought and heat.
To water larger plants (and tomatoes from the time they're small) deeply, keep your sprayer trained gently on one plant for about a half a minute to a minute. Then don't return to that same plant for a week or so. Of course in hot, dry weather, you'll have to water more often, and in cool, wet weather, less often. A good test to see if it's time to water more established plants is to dig a few inches into the soil to see how it feels. If it's cool and damp, wait. If it's dry, it's time to water.
For younger seedlings and leafy, shallow-rooted veggie crops like lettuce, you'll need to water daily, sometimes twice daily in warm weather, especially if there is wind. For cooler weather, every 2-3 days is probably ok. The sure sign that you're not watering enough is if the leaves of your plants are drooping in the heat of the day and the soil is dry. Drooping can also be a sign of over-watering, but the soil will be wet around the roots, and the drooping plants won't perk up as the sun goes down.
A rule of thumb for when to stop watering is when the shiny surface on the soil dissipates about 10 seconds after you turn the hose off.
Or as Stefani Bittner from Homestead Design Collective once told me, "Put on a podcast, and water until it's done." (BTW, her company won't build a garden unless the homeowners install irrigation first because most hand-watering gardeners under-water their veggies and the harvests suffer.)
Water early in the morning, or in the evening to get the most out of your water. Mid-day watering leads to lots of evaporation and water loss. The only exception is to help some vulnerable plants through a heat wave. You may want to spray them with water to cool them down until the extreme heat subsides.
Sprinklers (the old-fashioned, non-automatic kind) give the flexibility of hand watering, but without the long time standing around holding the hose. Of course, evaporation and water wastage, where the sprinkler waters outside the bed, can be problems. But using a sprinkler carefully, early in the morning can be a good option if it’s what you have.
Drip Irrigation
Drip is a whole world unto itself. I'll just cover it briefly here. It's considered the gold standard for water efficiency, when it's working properly. When Stefani Bittner talks about her clients installing irrigation, she’s talking about drip.
Drip slowly releases small amounts of water into the soil so that it penetrates much more deeply, instead of spreading out on the surface. This is both good for the plants because it helps them establish deep, robust root systems, and good for your water bill because much less water evaporates.
However, anyone who’s had a drip system will probably have noticed and rolled their eyes at the “when it’s working properly” bit from a couple paragraphs ago. Drip is notorious for breaking. All. The. Time. Animals chew on the tubes, parts get clogged, pieces wear out and break. And often the breakages happen buried under mulch or hedges and you don’t find out about the damage until a plant dies or you flood the neighbor’s yard. (Or get a startling water bill.)
This spring we removed the drip system that was in our garden when we moved in. I’m relatively handy with irrigation, and was conscientious about checking the lines, but it still malfunctioned regularly and predictably enough that we had to turn it off if we went away, which kind of defeated the purpose.
More robust drip systems can be installed specifically for veggie beds, using drip lines (instead of the individual emitters used for perennial plants) that are less prone to clogging. If you’re a diy enthusiast and don’t mind a trip down the rabbit hole of fittings, tubes and filters, it’s not a very hard project, and the parts can be economical if you don’t go for the fanciest controllers and valves. Hiring a contractor can be quite expensive, but if your head is already spinning at “emitters,” “controllers,” and “valves,” it might be a good investment, especially if the work is warrantied.
Soaker hoses
Soaker hoses are a really convenient, water efficient alternative drip, but they can be toxic.
The soaker hose concept is a good one. You lay it out in your veggie bed and connect one end to a garden hose. When you turn on the spigot, water seeps out the pores in the soaker hose giving an even deep watering to the whole bed. You can bury the soaker under mulch to prevent evaporation. And best of all, you can easily hook the whole thing up to a cheap timer.
However, and this is a big "however," standard soaker hoses are made from recycled tires. Which is great because it's less tire waste going to the landfill, BUT when you think about what tires are made of, and where they've been in their lifetimes, it's not exactly what you want watering your lettuce.
I've had good success with a diy soaker hose made from drip irrigation parts. You connect one of these to about 15 - 20 feet of this (with the end folded over and fastened), and you’ve got yourself a very inexpensive, much less toxic soaker. It’s still plastic, but drip tubing is made from polyethylene, one of the simplest, least toxic plastics.

Ollas
Ollas are an ancient technology. Basically it’s a buried terracotta pot filled with water. The water seeps out through the terracotta, keeping the deep root zone moist while allowing very little evaporation. I’ve never tried them because I’ve never had garden beds where the shape would have made sense, but I’m planning to test them this summer, and will let you all know what I find. Over the years, I’ve talked to gardeners who rave about them, saying that the plants growing around the ollas are the happiest in their gardens.
The downside of ollas is that because they’re small and round, they serve a limited area of the garden. Getting widespread coverage can get expensive because you would need lots of them. Which is why there are tons of DIY olla solutions on the internets, mostly involving gluing two standard terracotta flower pots together.
Greywater
Strictly speaking, greywater isn’t an irrigation system like the others. It’s a source of irrigation water that can be used in many ways.
Greywater is lightly used household water that, while no longer good for bathing or drinking, is perfectly good for irrigation. (It’s mainly water from laundry and showers.) It’s generally not used for veggies, but if you use greywater for your perennials and flower beds, it frees up time and water to focus on your vegetable beds.
The simplest systems divert laundry water and send it straight out into your yard. Until recently, these systems were outside the usual permitting process (i.e. technically illegal), but many jurisdictions now have processes for permitting greywater systems, especially the quite safe and simple “laundry-to-landscape” ones. Greywater action is a great resource to start to learn about reusing your household water.
We’re planning a greywater system here at our house, but it’s going to be complicated because most of our garden is uphill from the house. We’re going to need a pump and a tank, and some complicated (read: expensive) plumbing under the house. The project was in the planning phase when Covid hit, and has since come to a halt. We’re hoping to get it done this summer, and will share progress as we go along.
Conclusion
Like everything with gardening, watering is an art form and there is no one way to do it right. And there is no universal system that will always work. The best course of action (and this will sound familiar to regular readers) is to watch your plants carefully to see what works in your garden. At first you probably won’t know what you’re looking for, but over time, you’ll learn to read the signs of health and stress in your plants. I’ve been paying close attention to plants for about 10 years now, and I’m just beginning to feel like I understand how to water. Hopefully I’ve been able to at least fast-forward your learning curve a little bit!
]]>


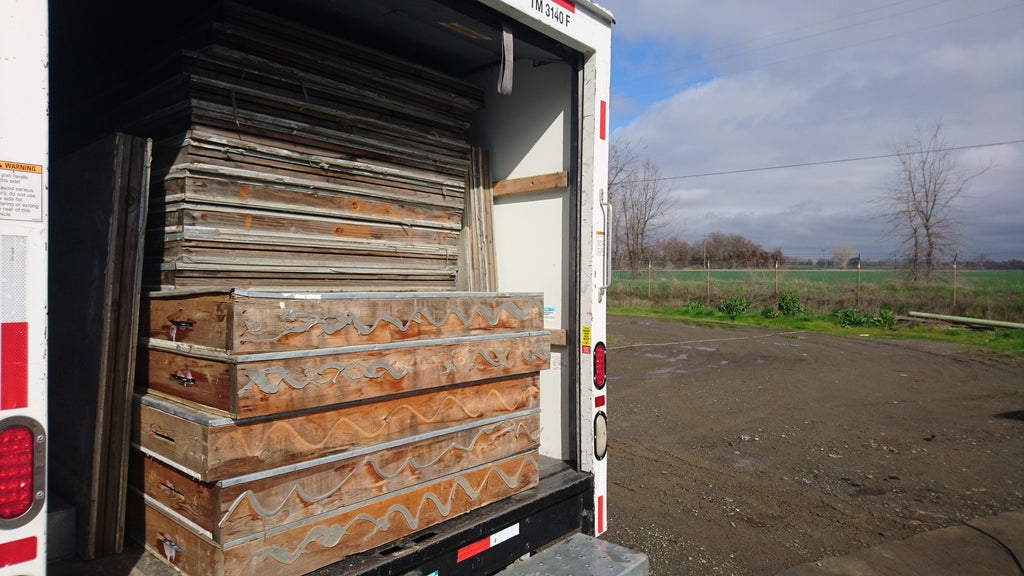

 Driving the lift to help get the heavy roof panels onto the box.


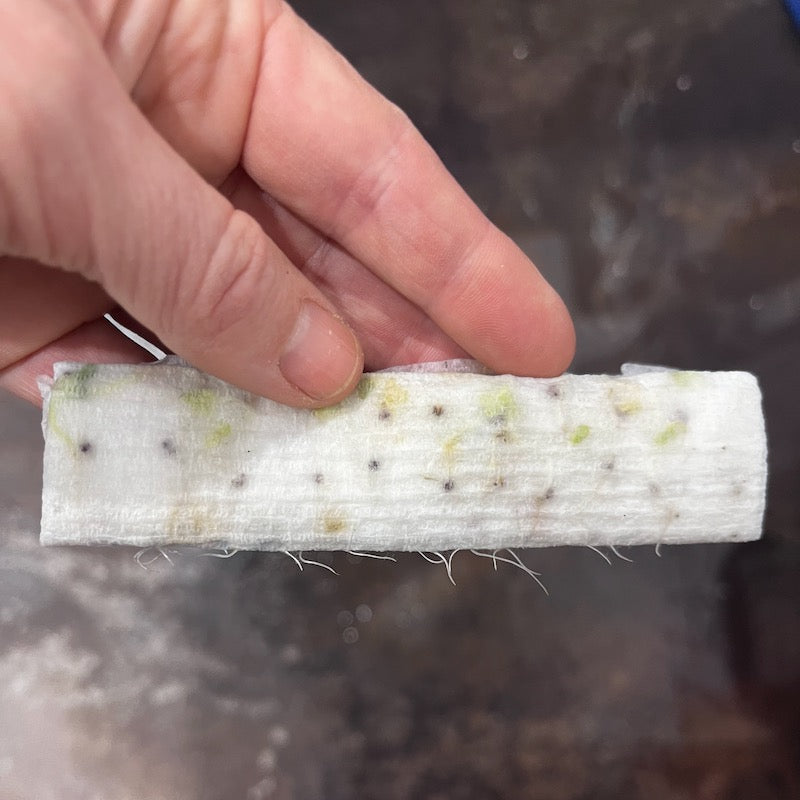
 Which of these layers are the seeds? The outer shells? The little curls tucked inside? All of the above?


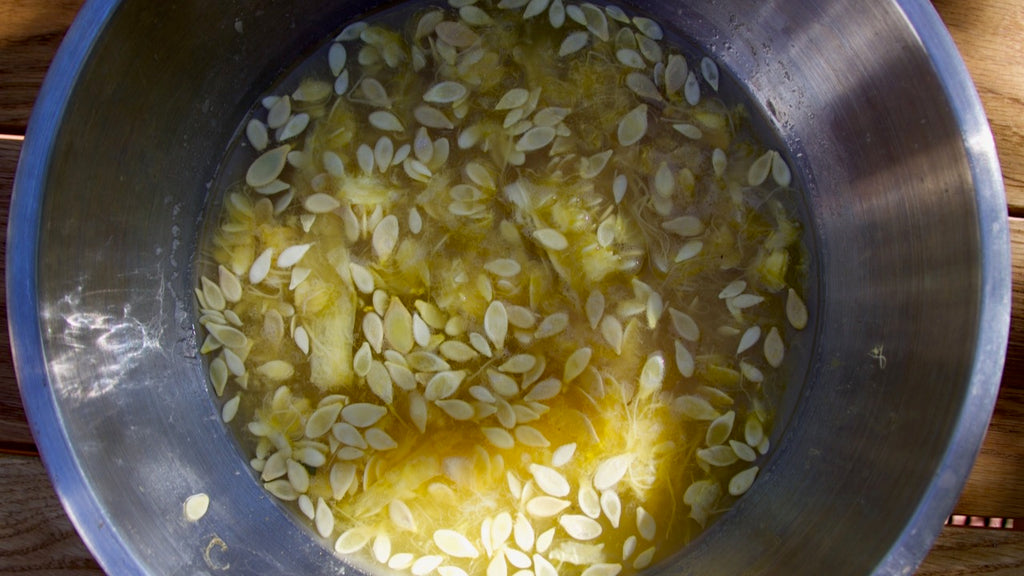


 Wrapping up this 4-part series on seed saving, this last post focuses on how to save seeds that, over a few years, become adapted to the hyperlocal microclimate of your own yard.


 Heirloom tomatoes are one of the easiest and most reliable veggies to save seed from. See the chart below for why.


 Tomato flowers have usually pollinated themselves before opening.


 This is what the stem should look like after deadheading: A short stub just above a set of leaves.
 Calendula goes very quickly from flower to seed head. If these aren't snipped off, the plant will focus its energy on the seeds and stop producing flowers.
 I snip the spent flowers at the base of the stem.
 Just a little stub of stem is left behind


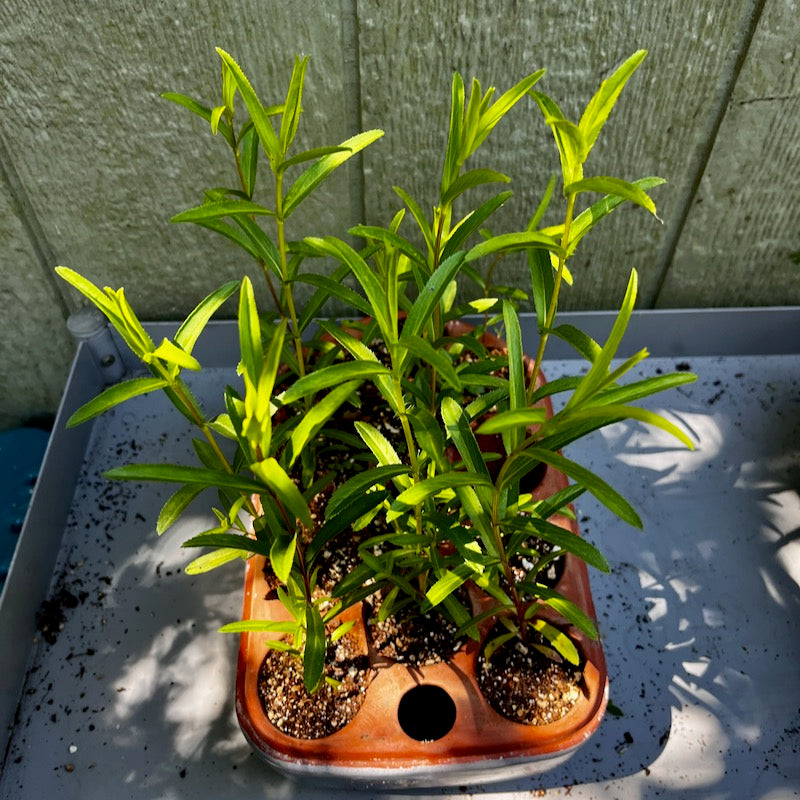
 Rudbeckias from seed I collected last year
 These are seeds I collected just on a morning's walk a few days ago, all of them from plants escaping their gardens into public space, into roads or over sidewalks.
 Nigella is one of my favorite seed heads
 Rudbeckias from seed I collected last year


 A native California striped sweat bee (I think) covered in pollen on my flowering mizuna plant
 This tiny creature on a 1/2" erigeron flower may actually be a wasp because it looks to me like the striped pattern is part of its exoskeleton, rather than made from hair, as it is with bees. But it's so tiny I can't tell for sure!
 Cabbage white butterfly depositing an egg on a broccoli seedling
 Cabbage white butterfly methodically laying eggs throughout my Ethiopian Kale seedlings.
 Honey bee on a scabiosa bloom
 Honey bee on borage
 As summer hits its stride, many of the spring crops are going over, flowering and going to seed. Now is a great time to save seeds to use for fall crops or for next spring. So before you yank out all the greens that are past their prime, consider leaving just one to finish setting seed for your future plants.


 I can also say with authority that I will never put pressure treated wood into a garden. The task of removing the rotted boards, and trying to dispose of them has been brutal. They’re natural enough to decay (and not really last very long in the garden), but chemically treated enough to be too toxic to safely compost. The worst of both worlds.


