

September is seed saving time! Most annual plants will be setting seed, and warm, sunny days are perfect for collecting dry seeds. Last Monday I gave a talk at a local library on how to save seeds. In this post, I'll share the same ideas with you.
Seed saving can be as simple as sticking a seed head in a bag, or as complicated as months-long genetics experiments. Below, I've covered the basics that apply to most common garden plants. (I'll get into some of the deeper topics in future posts.) When in doubt, follow the steps below and see what happens!
It's a great idea to save your own seeds, not only because you get seeds for free, but because it's the best way to adapt plants to your own microclimate. Every time you collect seeds from a strong, healthy plant in your yard or neighborhood, you're selecting genes that help a plant thrive in your particular soil and climate. After a few generations, you'll begin to have unique varieties suited to you.
Humans have been developing plants in this way since the dawn of agriculture. Until recently when many began buying seed each year from seed companies, farmers saved a small portion of each harvest to plant the next year. They saved the seeds from the healthiest, tastiest, highest yielding plants so that successive harvests were always just a bit better. Over millennia, this process led to most of the plant varieties we enjoy today. (Many modern varieties, of course, result from cross breeding, hybridizing, and genetically modifying seeds. But that's a longish story for another time.)
By saving seed, you're participating in an age-old tradition, that ironically, these days is a bit subversive. The norm has become to rely on companies to provide standardized seed, but, in fact, seeds are available for free right outside your door.
Here's how to start saving your own seeds:
1. Equipment:
All you need are paper envelopes and something to write with. It's important to save seeds in paper so they can breathe. Even a small amount of trapped moisture can cause seeds to mold in storage.

2. Finding seeds:
This is the exploratory part of the process, and my favorite. Once you start hunting for seeds, you'll find them everywhere. Often you'll find me and my daughter, crouched along the sidewalk, looking at plants up close to see if we can find the seeds.
On a dry day, go out and look for flowering plants. This time of year, most of them will have some flowers in bud, some open flowers, some fading flowers, and some seed heads. Sometimes the different stages will be on separate stems like the scabiosa pictured above, and sometimes they'll all be on the same stem.
Once you've identified a seed head, the simplest thing to do is stick the whole thing in an envelope (making sure it's dry). If you can figure out how to separate the seeds, it's more space efficient, but not necessary. Usually rubbing a seed head between your fingers rubs away the chaff and leaves you with seeds, but all plants are a bit different and you'll have to experiment. With a little practice, you'll start identifying seeds easily. They're almost always the densest, hardest bits of the seed head.
3. Label and store:
Make sure to label your envelope immediately so you don't forget what's inside! Even if you don't know the name of the plant, take a couple notes about where you found it and when. Or take a picture, and label the envelope with the image number and date.
Make sure seeds are dry before you put them away, and store them in a dry place.
4. Plant!
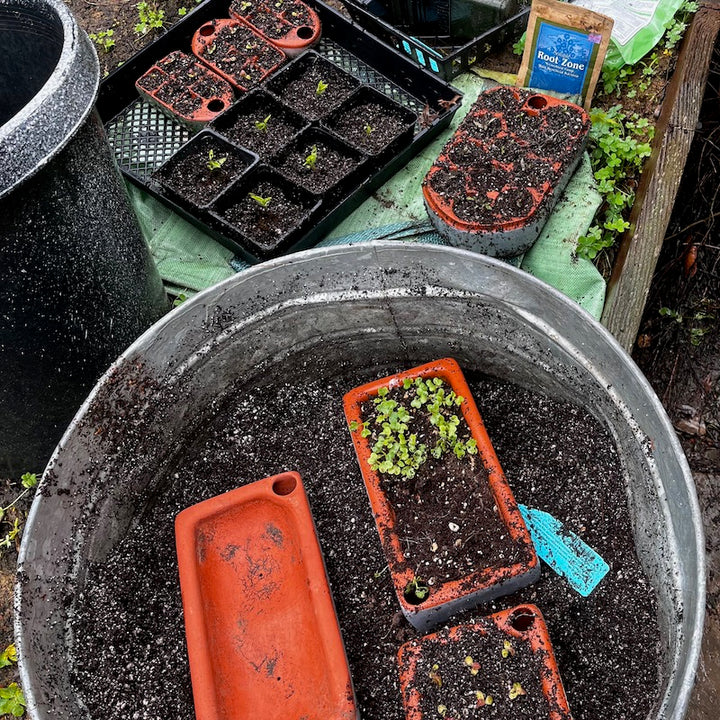
Plant your saved seeds just like any other seeds. Of course we think our seed pots are the best, but any seed-starting method will do!
With this very simple project, you'll be joining your ancestors in the age old human-plant lifecycle. And you'll get some free seeds in the process!
Can I seed save beans after a freeze? Thanks so much. I really enjoy your articles.